
HVAC Services
Get Professional Repairs From The Area's Trusted HVAC Technicians. Ask About Our Services! We Offer Professional Heating & Cooling System Repairs And Guarantee Long-Lasting Results.
Got Question? Call us: (850) 678-2665Financing
5 Easy DIY HVAC Maintenance Tips
Get handy with HVAC maintenance by following these 5 easy DIY tips. Learn how to clean air filters, maintain outdoor units, and more. Keep your system running efficiently with these maintenance tasks.
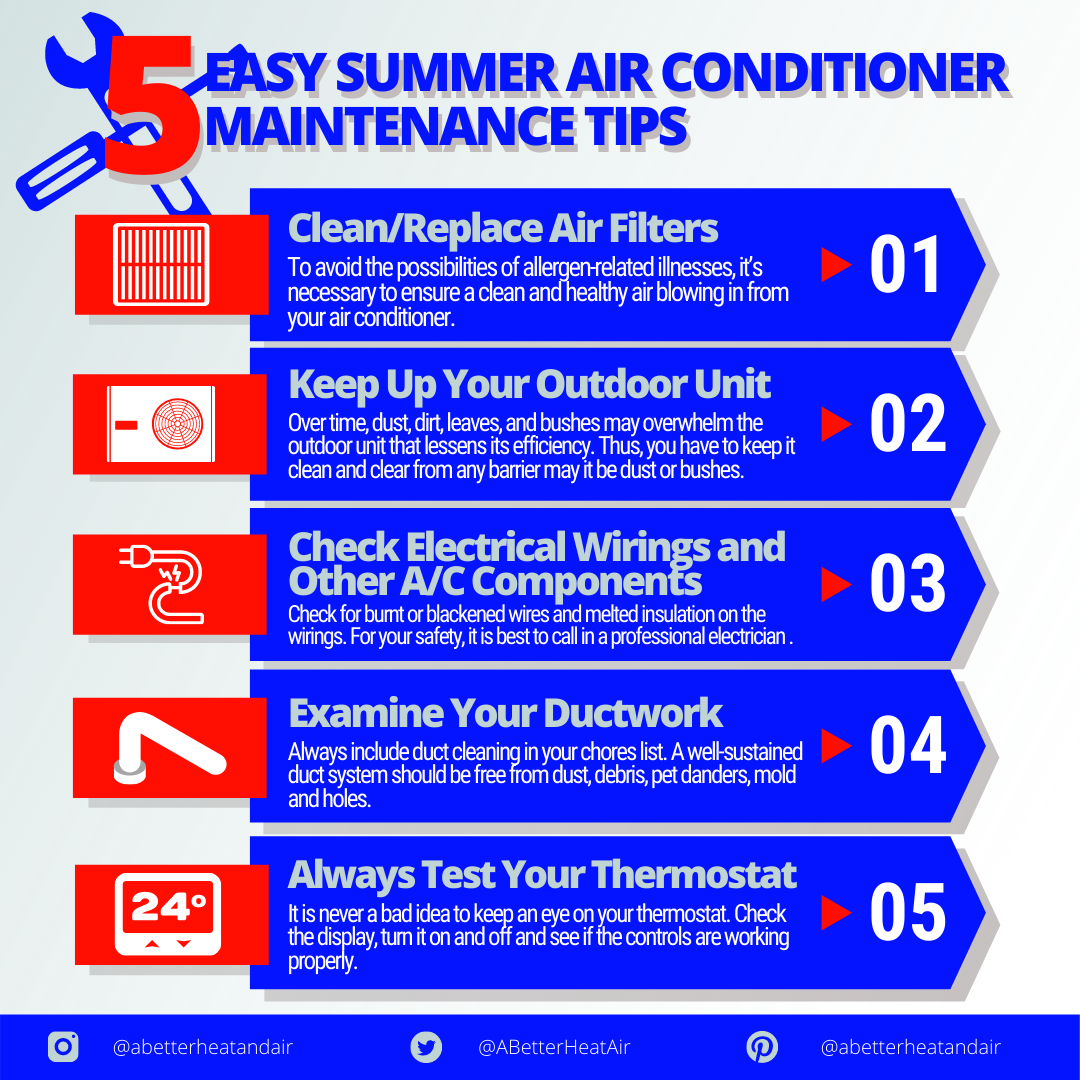
If you want to keep your HVAC system running smoothly and efficiently, without breaking the bank or relying on professional help, then this article is for you. In this comprehensive guide, you’ll find five easy DIY HVAC maintenance tips that will ensure your system stays in top-notch condition. From changing your air filters regularly to inspecting and cleaning your outdoor unit, these simple tasks can make a big difference in the performance and longevity of your HVAC system. So, grab your tools and get ready to give your HVAC unit the TLC it deserves.
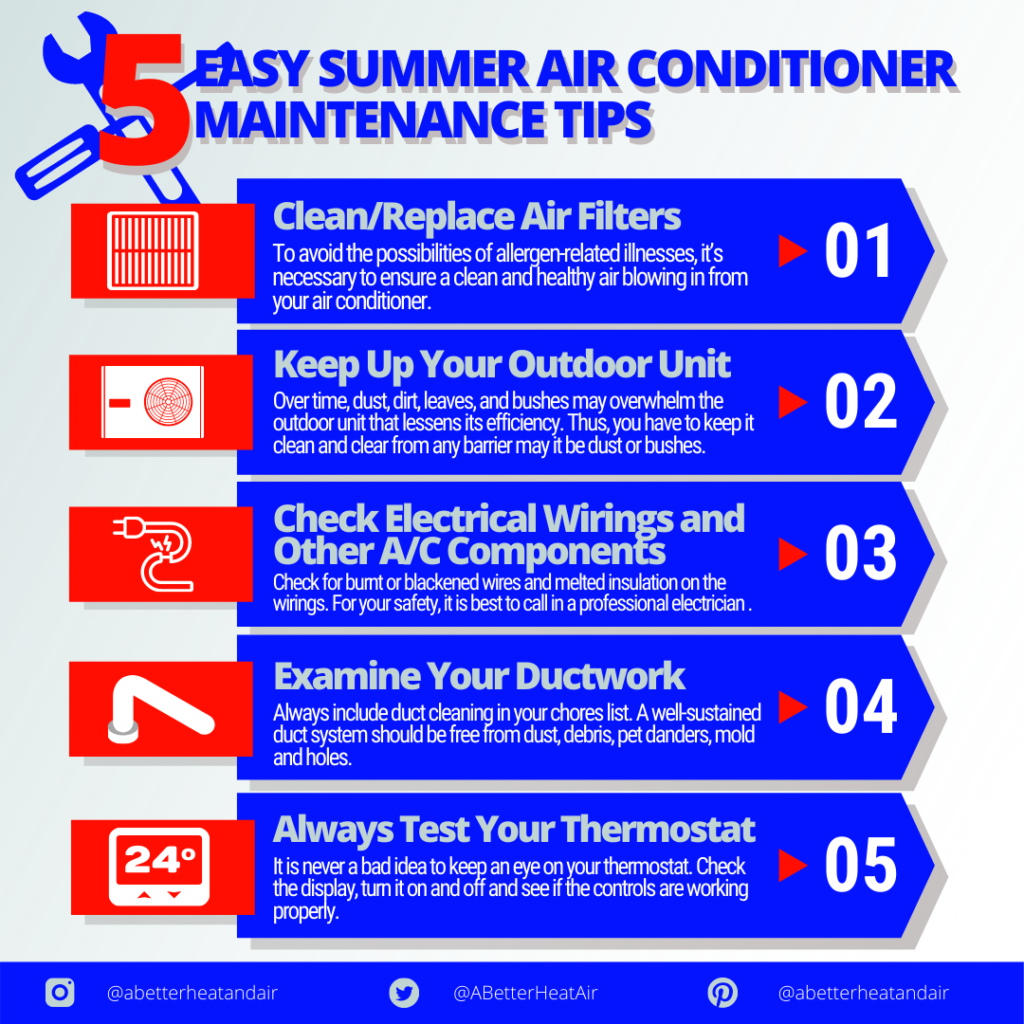
This image is property of i.pinimg.com.
1. Regularly Clean or Replace Air Filters
Inspect the Air Filters
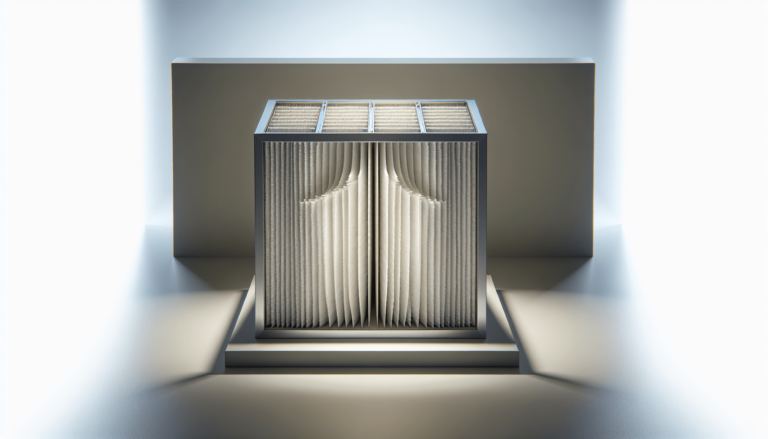
One of the easiest and most important maintenance tasks you can do for your HVAC system is to regularly inspect your air filters. These filters play a crucial role in improving the indoor air quality of your home by trapping dust, dirt, pollen, and other particles. Over time, however, they can become clogged and dirty, hindering proper airflow and reducing system efficiency.
To inspect your air filters, locate the air filter housing in your HVAC system. It is usually found near the intake vents or inside the blower compartment. Carefully remove the filter and hold it up to the light. If you notice a significant amount of dirt or debris, it’s time to clean or replace it.
Clean or Replace the Air Filters
Once you have determined that your air filters are dirty, you have two options: cleaning or replacing them. If you have a reusable filter, you can clean it by following the manufacturer’s instructions. Typically, this involves rinsing the filter with water and allowing it to dry completely before reinstalling it.
On the other hand, disposable filters should be replaced with new ones. These filters are usually made of cardboard frames and synthetic fibers, and they are available in various sizes and filtration levels. Make sure to choose a filter that is compatible with your HVAC system and meets your indoor air quality needs.
Consider Upgrading to a High-Efficiency Filter
If you want to take your air filtration to the next level, consider upgrading to a high-efficiency filter. These filters are designed to capture smaller particles and provide better overall air filtration. They can help reduce allergens, improve indoor air quality, and even extend the lifespan of your HVAC system.
High-efficiency filters are typically categorized by their Minimum Efficiency Reporting Value (MERV) rating, which ranges from 1 to 16. The higher the MERV rating, the more efficient the filter. However, it’s important to note that higher-rated filters may also restrict airflow, so you should consult with an HVAC professional to ensure proper compatibility with your system.
2. Keep the Outdoor Unit Clean and Clear
Clean the Surrounding Area
The outdoor unit of your HVAC system, also known as the condenser unit, plays a critical role in transferring heat from inside your home to the outdoors. To ensure its optimal performance, it’s important to keep the surrounding area clean and free from debris.
Regularly inspect the area around the outdoor unit and remove any leaves, grass clippings, dirt, or other debris that may have accumulated. Use a broom or leaf blower to gently sweep away the debris, taking care not to damage the unit or its components. Make sure to keep at least two feet of clearance around the unit to allow for proper airflow.
Remove Debris and Obstructions
In addition to the surrounding area, it’s equally important to keep the unit itself free from debris and obstructions. Check the condenser coils for any build-up of dirt, dust, or leaves. These coils are responsible for dissipating heat, and when they are dirty, they become less efficient, putting unnecessary strain on your HVAC system.
To clean the condenser coils, carefully remove any large debris by hand or with a soft brush. Then, use a coil cleaner or a mixture of warm water and mild detergent to wash away the remaining dirt. Rinse off the cleaner with water, and allow the coils to dry completely before turning your HVAC system back on.
Trim Overhanging Branches or Foliage
Overhanging branches or foliage can obstruct the airflow to the outdoor unit, reducing its efficiency and potentially causing damage. Take the time to trim any branches or plants that are within two feet of the unit. This not only enhances airflow but also prevents the risk of falling branches or leaves damaging the unit during storms or high winds.
Maintaining a clean and clear outdoor unit ensures that your HVAC system operates at its best, providing optimal cooling and heating performance throughout the year.
3. Check and Clean the Evaporator and Condenser Coils
Inspect the Coils for Dust and Dirt
The evaporator coils, located inside your home, and the condenser coils, located in the outdoor unit, are both critical components of your HVAC system. Over time, these coils can collect dust, dirt, and other debris, which can decrease their efficiency and obstruct the heat exchange process.
To inspect the coils, start by turning off the power to your HVAC system. Locate the access panel for the evaporator coils, which is usually found near the air handler or furnace. Remove the panel and visually inspect the coils for any visible dust or dirt build-up. Similarly, locate the access panel for the condenser coils, which is typically on the side or top of the outdoor unit. Remove the panel and inspect the coils.
Clean the Coils
If you find that the coils are dirty, it’s important to clean them to maintain optimal performance. You can clean the evaporator coils using a soft brush or a vacuum cleaner with a soft brush attachment. Gently brush away the dust and dirt, taking care not to bend the delicate fins.
For the condenser coils, start by using a soft brush or a coil cleaner to remove any loose debris. Then, rinse the coils with a gentle stream of water, starting from the top and working your way down. Avoid using high-pressure water as it can damage the coils. Allow the coils to dry completely before reassembling the access panels.
Consider Professional Coil Cleaning
While cleaning the coils yourself can help maintain their efficiency, it’s worth considering professional coil cleaning for a more thorough and effective job. HVAC professionals have specialized tools and expertise to remove stubborn dirt and debris from the coils without causing any damage.
Professional coil cleaning can improve energy efficiency, enhance indoor air quality, and prolong the lifespan of your HVAC system. It’s recommended to schedule professional cleaning once every one to three years, depending on factors such as the location of your home, air quality, and system usage.
4. Ensure Proper Airflow and Ventilation
Check and Adjust Registers and Vents
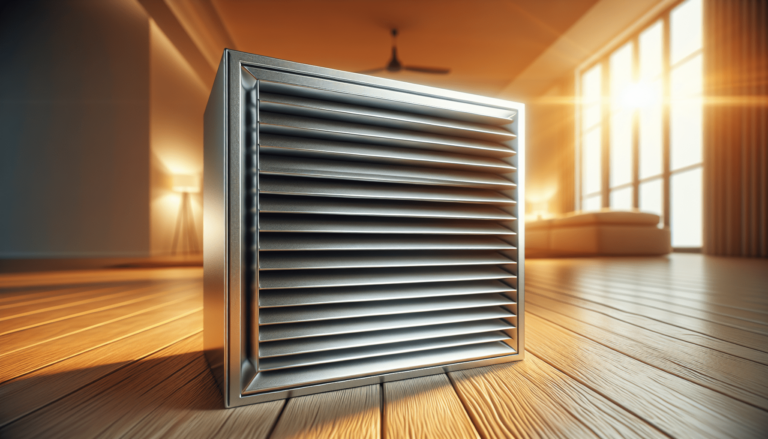
Proper airflow and ventilation are crucial for maintaining a comfortable indoor environment. Check all the registers and vents in your home to ensure they are open and unobstructed. Make sure that furniture, drapes, rugs, or other objects are not blocking the airflow.
If you notice that some rooms are not receiving adequate airflow, you may need to adjust the registers or vents. Most registers have adjustable louvers that can be opened or closed to control the amount of air flow. Experiment with different settings to find the optimal balance of air distribution in your home.
Remove Obstructions from Vents and Air Ducts
In addition to the registers and vents, it’s important to inspect the air ducts for any obstructions or blockages. Over time, dust, pet hair, and debris can accumulate in the ductwork, reducing the efficiency of your HVAC system and causing poor indoor air quality.
Inspect the visible sections of the air ducts and remove any visible debris by hand or with a vacuum cleaner. If you suspect that there are deeper blockages within the ductwork, it’s best to consult with a professional HVAC technician who can perform a thorough cleaning using specialized equipment.
Consider Using Fans for Better Air Circulation
To enhance air circulation and improve the efficiency of your HVAC system, consider using fans strategically throughout your home. Ceiling fans, in particular, can help distribute the conditioned air more effectively, allowing you to adjust your thermostat settings and potentially save on energy costs.
During the summer, set your ceiling fans to rotate counterclockwise to create a cool breeze. In the winter, switch the direction to clockwise to push the warm air down from the ceiling. Using fans in conjunction with your HVAC system can help maintain a comfortable temperature and reduce the workload on your system.

This image is property of assets.searshomeservices.com.
5. Schedule Professional Maintenance
Find a Reliable HVAC Technician
While there are several maintenance tasks you can do yourself, it’s important to schedule professional maintenance at least once a year. A reliable HVAC technician can thoroughly inspect and tune up your system, identify potential issues before they become major problems, and ensure optimal performance and energy efficiency.
When looking for an HVAC technician, do your research and choose a reputable company with experienced technicians. Reading reviews, asking for recommendations from friends and family, and verifying licenses and certifications are all important steps in finding the right professional for your HVAC maintenance needs.
Schedule Annual Maintenance
Annual maintenance is essential for keeping your HVAC system in top shape. A professional technician will perform a comprehensive inspection, cleaning, and adjustment of your system, focusing on key components such as the blower motor, belts, electrical connections, and refrigerant levels.
During the maintenance visit, the technician will also check for potential safety issues, such as gas leaks or carbon monoxide leaks, and ensure that your system is operating within the manufacturer’s specifications. Regular maintenance not only extends the lifespan of your HVAC system but also helps prevent unexpected breakdowns and costly repairs.
Consider a Maintenance Agreement
To make HVAC maintenance even more hassle-free, consider signing up for a maintenance agreement with your chosen HVAC company. These agreements typically offer scheduled maintenance visits, priority service, discounts on repairs, and other benefits.
A maintenance agreement provides peace of mind, knowing that your HVAC system will receive regular care and attention. It also helps you stay on top of your maintenance schedule, as the HVAC company will send you reminders and schedule appointments at convenient times for you.
6. Inspect and Clean the Blower Motor
Turn off Power to the Furnace
Before inspecting and cleaning the blower motor, it’s important to ensure your safety by turning off the power to your furnace. Locate the circuit breaker or switch that controls the furnace and turn it off. This will prevent any accidental power supply to the motor while you are working on it.
Remove the Access Panel
Once you have turned off the power, locate the access panel that covers the blower motor. This panel is usually found near the bottom of the furnace, but the exact location may vary depending on the make and model of your system. Use a screwdriver or a wrench to remove the screws or fasteners holding the panel in place.
Clean the Blower Motor and Blades
With the access panel removed, you will have clear access to the blower motor and blades. Use a soft brush or a vacuum cleaner with a brush attachment to gently remove any dust or debris from the motor and blades. Take care not to bend or damage the blades, as this can affect the airflow and performance of your HVAC system.
If you notice excessive dirt or debris that cannot be easily removed, you may need to remove the blower assembly for a more thorough cleaning. This task may require some technical knowledge and tools, so it’s best to consult with a professional HVAC technician if you are unsure.
Regularly inspecting and cleaning the blower motor helps ensure proper airflow, enhances system efficiency, and prevents issues such as overheating or motor failure.
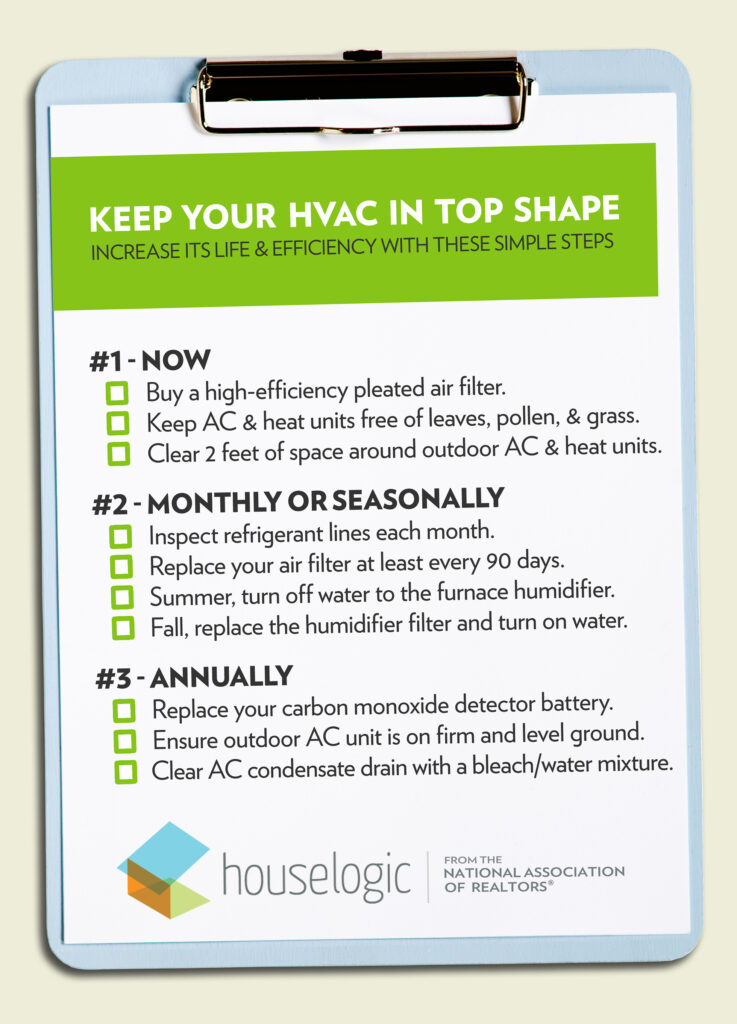
This image is property of static.houselogic.com.
7. Clean and Unblock the Condensate Drain Line
Locate the Drain Line
The condensate drain line is responsible for removing excess moisture from your HVAC system. Over time, this drain line can become clogged with dirt, algae, or other debris, leading to water backing up into your system and potentially causing water damage.
Locate the condensate drain line, which is usually a PVC pipe or tubing connected to the indoor unit of your HVAC system. It might be located near the evaporator coils or in the vicinity of the air handler. Trace the drain line from the indoor unit to its termination point, which is typically an exterior drain or a floor drain.
Empty and Flush the Drain Pan
Once you have located the condensate drain line, it’s important to empty and flush the drain pan. The drain pan is designed to collect the condensate water before it is drained away. However, if the drain line is clogged, the water will accumulate in the pan, potentially leading to overflow and water damage.
To empty the drain pan, carefully remove it from the HVAC system and dispose of the collected water. Inspect the pan for any visible signs of dirt or algae, and clean it using a mild detergent or bleach solution. Rinse the pan thoroughly with clean water and ensure it is dry before placing it back into the HVAC system.
Unclog the Drain Line
If you suspect that the condensate drain line is clogged, you will need to unclog it to restore proper drainage. Start by turning off the power to your HVAC system to ensure your safety. Then, use a wet/dry vacuum or a simple handheld pump to apply suction to the drain line. This can help dislodge debris and clear the clog.
For more stubborn clogs, you may need to use a specialized drain cleaning tool, such as a drain snake or a foam cleanser. Consult with a professional HVAC technician if you are unsure about using these tools or if the clog persists even after your efforts.
Regularly cleaning and unblocking the condensate drain line prevents water damage, helps maintain proper humidity levels in your home, and improves the overall efficiency of your HVAC system.
8. Check and Adjust Thermostat Settings
Inspect and Change Batteries
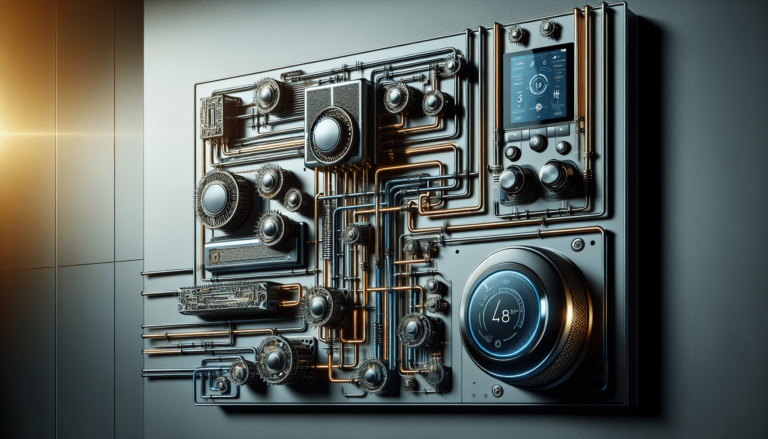
Your thermostat plays a crucial role in controlling the temperature and comfort of your home. Regularly inspect the thermostat and replace the batteries if necessary. Low or dead batteries can cause erratic thermostat operation, incorrect temperature readings, and overall system malfunctions.
Most thermostats have a low battery indicator that will alert you when the batteries need to be replaced. Follow the manufacturer’s instructions to safely remove the old batteries and install new ones. Make sure to use the correct battery type and check for proper polarity when inserting them.
Clean Dust and Debris
Dust and debris can accumulate on the surface and inside of your thermostat, affecting its accuracy and responsiveness. Keep the thermostat clean by gently wiping the surface with a soft, dry cloth. If necessary, you can use a mild detergent or a specialized electronic cleaner to remove stubborn dirt or fingerprints.
Take care not to spray any cleaning solution directly onto the thermostat, as this can damage the internal components. Instead, apply the cleaning solution to the cloth and then wipe the thermostat. It’s also important to avoid using abrasive materials or excessive force when cleaning, as this can scratch or damage the display.
Adjust Temperature and Programming
To optimize your HVAC system’s energy efficiency and comfort, take the time to review and adjust your thermostat settings. Set your desired temperature levels for different times of the day and week, taking into consideration your household’s schedule and preferences.
Consider utilizing programmable or smart thermostats to automate temperature adjustments according to your needs. These thermostats allow you to create customized schedules, set temperature setbacks when you’re away, and even control your HVAC system remotely through smartphone apps.
Regularly reviewing and adjusting your thermostat settings can help you save on energy costs, improve comfort levels, and tailor your HVAC system’s operation to your lifestyle.
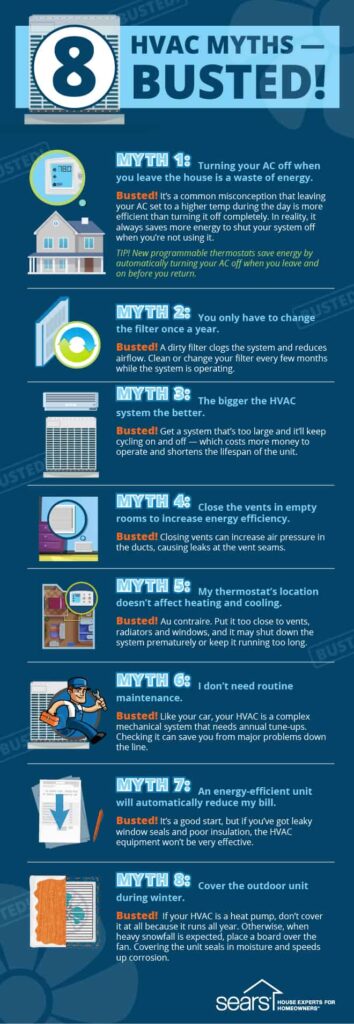
This image is property of smartsavvyliving.com.
9. Examine Ductwork for Leaks and Insulation
Check for Visible Leaks or Damaged Ducts
The ductwork in your home is responsible for distributing conditioned air from your HVAC system to each room. Over time, the ducts can develop leaks or suffer from damage, resulting in energy loss, reduced efficiency, and poor overall performance.
Inspect the visible sections of your ductwork for any signs of leaks or damage. Look for loose, disconnected, or torn ducts. Pay attention to visible joints, seams, or connections, as these areas are more prone to leakage. If you notice any visible leaks or damage, it’s important to repair or seal them promptly to prevent further issues.
Seal and Insulate Loose Ducts
In addition to addressing visible leaks or damage, it’s crucial to ensure that your ducts are properly sealed and insulated. Sealing the ducts helps prevent air leaks, ensuring that the conditioned air reaches its intended destination, rather than escaping through gaps or cracks.
Use a specialized duct sealing tape or mastic sealant to seal any visible leaks or joints. Make sure to follow the manufacturer’s instructions and use the appropriate materials for your specific type of ductwork. Alternatively, you can hire a professional duct sealing service to ensure a thorough and effective sealing process.
Insulating your ductwork is equally important, especially if your ducts are located in unconditioned areas such as attics, basements, or crawl spaces. Insulation helps prevent heat gain or loss, further improving the energy efficiency and overall performance of your HVAC system.
Consider Professional Duct Sealing
If you have a significant number of leaks or extensive damage in your ductwork, it may be best to consider professional duct sealing. HVAC professionals have the expertise, tools, and materials to conduct a comprehensive duct inspection and sealing process, ensuring optimal performance and energy efficiency.
Professional duct sealing involves pressurizing the duct system, identifying and locating leaks using specialized equipment, and sealing the leaks with industry-approved methods. It’s a beneficial investment that can significantly improve the comfort, indoor air quality, and energy savings of your home.
10. Monitor and Maintain Refrigerant Levels
Inspect the Refrigerant Lines
Refrigerant is the lifeblood of your HVAC system, responsible for absorbing heat from your home and releasing it outside. Without the correct amount of refrigerant, your system’s cooling capacity is compromised, and you may experience reduced cooling performance or even complete system failure.
Inspect the refrigerant lines, which are usually copper or aluminum pipes that connect the indoor and outdoor units. Look for any visible signs of refrigerant leakage, such as oily spots, icing, or abnormal moisture. If you notice any of these signs, it’s important to address the issue promptly and contact a professional HVAC technician for repairs.
Check for Leaks or Damage
Refrigerant leaks can occur due to a variety of reasons, including aging equipment, poor installation, or physical damage to the refrigerant lines. These leaks not only result in reduced cooling efficiency but can also have environmental consequences as refrigerant chemicals can deplete the ozone layer or contribute to global warming.
If you suspect a refrigerant leak, it’s crucial to contact an HVAC professional who can perform a leak detection test and safely repair any leaks. Attempting to fix refrigerant leaks yourself is not recommended, as it requires specialized equipment and knowledge to handle refrigerant chemicals safely.
Recharge or Repair if Needed
Maintaining proper refrigerant levels is essential for the optimal performance of your HVAC system. If your system’s refrigerant levels are low, it’s important to address the issue to ensure efficient cooling and prevent potential damage to the compressor.
Recharging the refrigerant involves adding the correct amount of refrigerant to the system, ensuring it matches the manufacturer’s specifications. This task should only be performed by a licensed HVAC technician who has the equipment and knowledge to handle refrigerants safely.
If your system has a refrigerant leak or other underlying issues, the technician will also address these during the repair process. It’s essential to address any refrigerant-related issues promptly to prevent further damage and ensure that your HVAC system operates at its best.
Regular monitoring and maintenance of refrigerant levels help maximize your system’s cooling performance, energy efficiency, and overall lifespan.
In conclusion, conducting regular maintenance on your HVAC system is essential for optimal performance, energy efficiency, and longevity. By following these DIY maintenance tips, you can ensure that your system operates at its best, providing you with a comfortable and healthy indoor environment all year round. Remember to schedule professional maintenance at least once a year to address any issues that require expert attention. With proper care and maintenance, your HVAC system will keep you cool in the summer and warm in the winter for years to come.
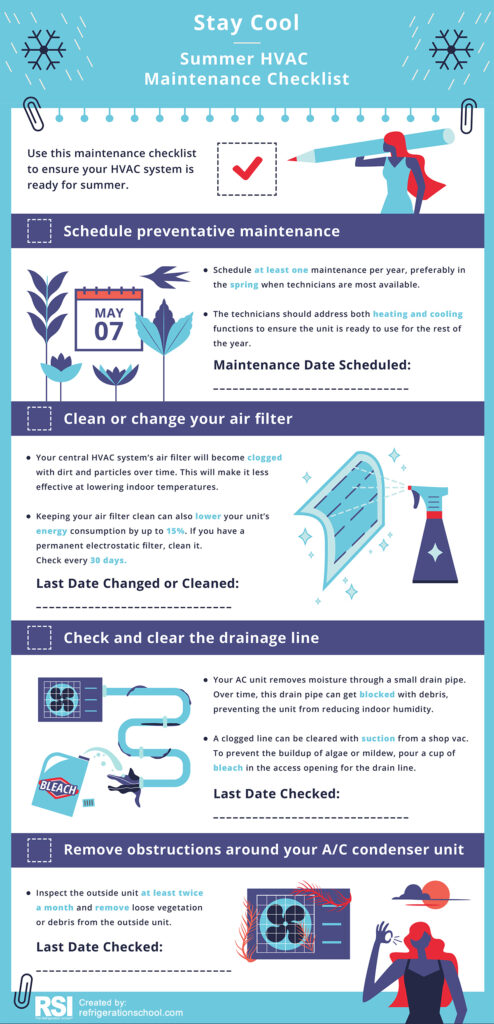
This image is property of www.rsi.edu.
