
HVAC Services
Get Professional Repairs From The Area's Trusted HVAC Technicians. Ask About Our Services! We Offer Professional Heating & Cooling System Repairs And Guarantee Long-Lasting Results.
Got Question? Call us: (850) 678-2665Financing
Conducting A DIY HVAC Efficiency Test
Unleash your inner HVAC detective with our DIY efficiency test! Discover nifty steps to ensure your system isn't secretly spiking your bills. Get started today!

Ever wondered how your HVAC system is truly performing? You might feel a chill in the air or perhaps a comforting warmth in your home. Still, how do you ensure that your HVAC system isn’t secretly plotting to send your electricity bills through the roof? Conducting a Do-It-Yourself (DIY) HVAC efficiency test could be the key. Testing the efficiency of your system can be rewarding, providing insight into unseen improvements. Get ready to roll up those sleeves as you uncover some nifty steps to assess your HVAC efficiency.
Understanding HVAC Systems
Before diving into efficiency testing, it’s essential to understand what HVAC systems are. HVAC, standing for Heating, Ventilation, and Air Conditioning, regulates indoor climate and air quality. It comprises components that work together to provide comfort in your living space. Knowing the basics can help you navigate your DIY efficiency test smoothly.
Components of an HVAC System
Your HVAC system is like a symphony orchestra, with each component playing a crucial role:
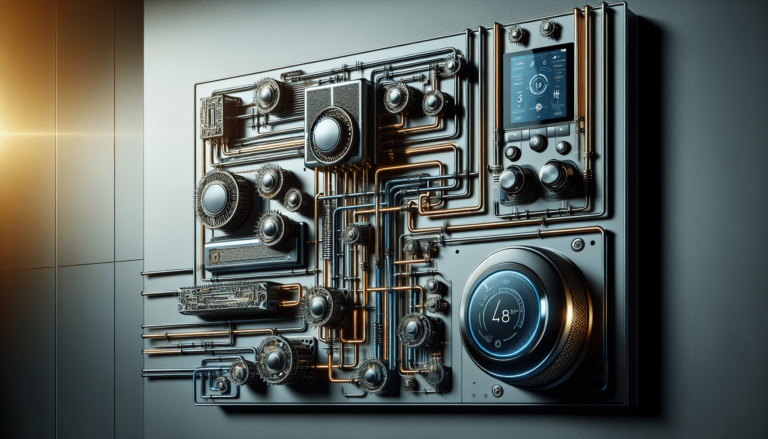
- Thermostat: The conductor, setting the desired temperature.
- Furnace: Burns fuel or uses electricity to heat air.
- Heat Exchanger: Separates combustion gases.
- Evaporator Coil: Cools the air when the AC is on.
- Condensing Unit: Houses important parts like the compressor and condenser coil.
- Ductwork: Channels conditioned air throughout your house.
- Vents: Like speakers in the orchestra, delivering the result to you.
Each component can impact efficiency, and understanding their functions helps pinpoint potential issues during your test.
Preparing for Your HVAC Efficiency Test
Preparation is key for a smooth DIY test. Gather tools such as a thermometer, flashlight, and even your smartphone for research. Note the age and model of your system, as the condition can influence your results. Allocating uninterrupted time for your test will help you remain focused without rushing through steps.
Safety First
Safety during your test is paramount. Ensure your HVAC system is off before starting, reducing risk from moving components. Working around electrical parts can be tricky, so consider calling a professional if you feel uncomfortable at any point.
Setting the Right Temperature
Start by setting your thermostat to a challenging degree, such as a few degrees warmer or cooler than current conditions. Wait for your system to adjust before taking any measurements. This mimics real-world usage, providing a more accurate test result.

Step-by-Step Guide to Testing HVAC Efficiency
Here’s a simple roadmap to follow:
Step 1: Checking the Thermostat
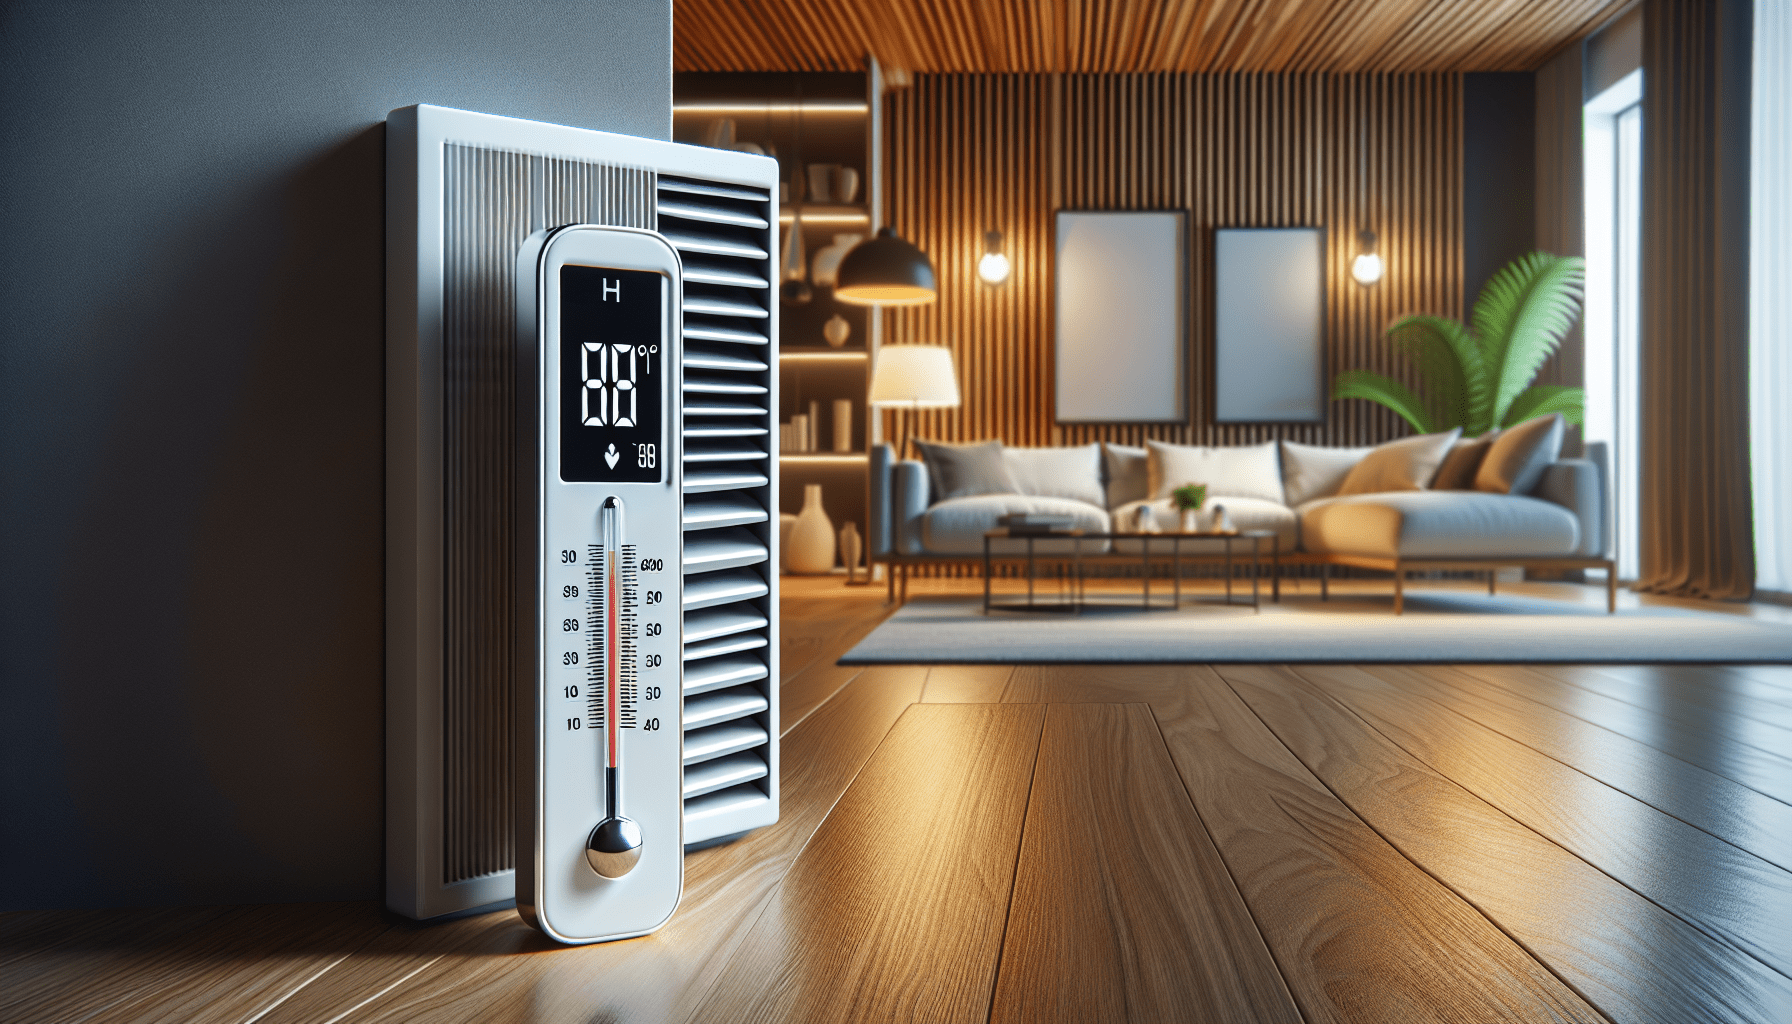
Begin with the thermostat, your system’s brain. Ensure it’s not misreading room temperature. Use your thermometer to measure the ambient room temperature. Compare this with the thermostat reading. If there’s a discrepancy, your thermostat might need recalibration.
Step 2: Inspecting Air Filters
Dirty air filters can severely hamper your system’s efficiency by obstructing airflow. Remove the air filter and inspect it under bright light. If no light passes through or it appears clogged, replace it with a new filter. Clean filters ensure smooth airflow.
Step 3: Evaluating the Air Flow
With clean filters, check if all vents are open and unobstructed. Close each room’s door and note if air circulates efficiently. If certain rooms have poor airflow, it might indicate problems with ductwork or a need for more balanced distribution.
Step 4: Analyzing Ductwork
Inspect your ductwork for visible signs of damage such as holes or gaps. Use your flashlight to trace duct paths, listening for escaping air. Sealing any leaks with duct tape can prevent conditioned air from escaping, increasing system efficiency.
Step 5: Assessing System Insulation
Insulation can greatly impact heating and cooling efficiency. Check accessible ductwork and pipes for insulation condition. Feel for any cold spots or drafts that might indicate insufficient insulation. Adding or replacing insulation can help retain treated air.
Step 6: Listening for Unusual Sounds
Listen closely for any unusual noises such as rattling, buzzing, or clicking. These sounds can indicate various issues from loose components to electrical problems within the system. Unusual noises often signal the need for professional maintenance.
Understanding the Results
After your DIY test, what did you find? A noticeable improvement or room for enhancement? Results guide your next steps toward better efficiency, whether it’s sealing ducts, replacing parts, or calling in professional help.
Measure Temperature Difference
Measure and note down the temperature of air coming from vents and returning to HVAC. A large discrepancy might suggest system inefficiency. Air returning to the system should ideally be 15–20 degrees cooler (in heating) or warmer (in cooling mode).
Regular Maintenance
Ensure you schedule regular maintenance. Even with all the DIY knowledge, a professional brings a level of expertise that can preemptively address issues beyond routine DIY checks.

Calculating HVAC Efficiency
Curious about a numerical expression of efficiency? Several methods allow you to estimate your system’s efficiency:
SEER and AFUE Ratings
The Seasonal Energy Efficiency Ratio (SEER) measures cooling efficiency, while Annual Fuel Utilization Efficiency (AFUE) measures heating. Higher numbers in both aspects indicate better efficiency. Knowing these ratings helps in purchasing decisions.
Conducting an Energy Audit
Perform an energy audit to identify high-consumption areas. Consider energy usage by the system and evaluate improvements like better insulation, smarter scheduling, and upgrades to efficient systems.
Concluding Thoughts
Congratulations! You’ve conducted a comprehensive DIY HVAC efficiency test. You’ve stepped into the world of bolts and vents with curiosity and emerged with a better understanding. Whether you’re tweaking your settings or planning a system overhaul, every bit of this journey contributes to a healthier and more efficient home environment. Remember, while DIY checks are valuable, don’t hesitate to consult professionals for complicated issues or routine checks, ensuring your HVAC system runs smoothly and efficiently throughout the years.


